

Knockdown texture—a drywall finishing style with mottled texture—is one of the most popular types of textures right now be it for homes or commercial buildings. It’s a successor of the popcorn and orange peel textures in the early 1990s that became famous for its pleasing three-dimensional effect and practicality. Unlike the popcorn and orange peel textures, however, the knockdown texture is more toned down.
The knockdown texture is achieved by troweling, spraying, or rolling drywall joint compound onto ceilings or walls to form spiky peaks. Then, the peaks are flattened with a knockdown knife. This creates a random but natural pattern that adds a visual dimension to any walls or ceilings. It easily hides any surface imperfections and it also helps tone down the sounds.
Knockdown texture is typically applied with a compressor or a hopper gun. And to get good results, the consistency of the splatter should be just right. Then, the stalactite-like peaks should be flattened small section by small section to avoid bumps. From covering the furniture until taking the covers off, it’s a messy and time-consuming task. And the best results are usually best left to the experts. To help them achieve these results, it would be good to know the types of knockdown textures.

Types of Knockdown Texture
The knockdown texture has three types: Stomp, mud trowel, and splatter. And though they all have the same mottled characteristics, each one has distinct looks that require different tools and techniques.
1. Stomp
Among the three, stomp is the most textured. It’s more elevated than the splatter or mud trowel and may take twice as long as splatter. This type requires the thinning of the pre-mixed or ready-to-mix drywall mud with water. Then, a paint roller is used to apply it to a wall or ceiling. To create the spikes, a crows-foot brush is stomped into the mud before it is flattened with a standard knockdown knife.
2. Splatter
The splatter is the most popular of the three knockdown types. Its effect mimics the classic Spanish-style stucco, a look inspired by lace veils. To achieve this look, a drywall hopper gun is used to spray ceilings or walls with pre-mixed wet drywall mud or joint compound powder mixed with water. This part can get a little bit messy and requires more set up a time to get all the furniture and floors fully covered. Once the room is good to go, however, it’s a quick, easy, and uniform application. This technique makes it the quickest of the three types of knockdown texture to apply. After the spraying, the peaks are flattened with an 18-inch and up wide knockdown knife. This creates a subtler look than stomp with a subtle raised texture that leaves around 60 percent of the surface flat.
3. Mud Trowel
Last but not least, the mud trowel technique provides the most subtle look among the three. To get this texture, an 18-inch or wider curved-blade drywall trowel is used to apply the drywall mud. After that, the surface is skimmed with the cleaned trowel again creating a subtle texture of small round blobs on half of the surface. This technique requires a longer time and more patience than splatter to apply.
The Knockdown Texture Process
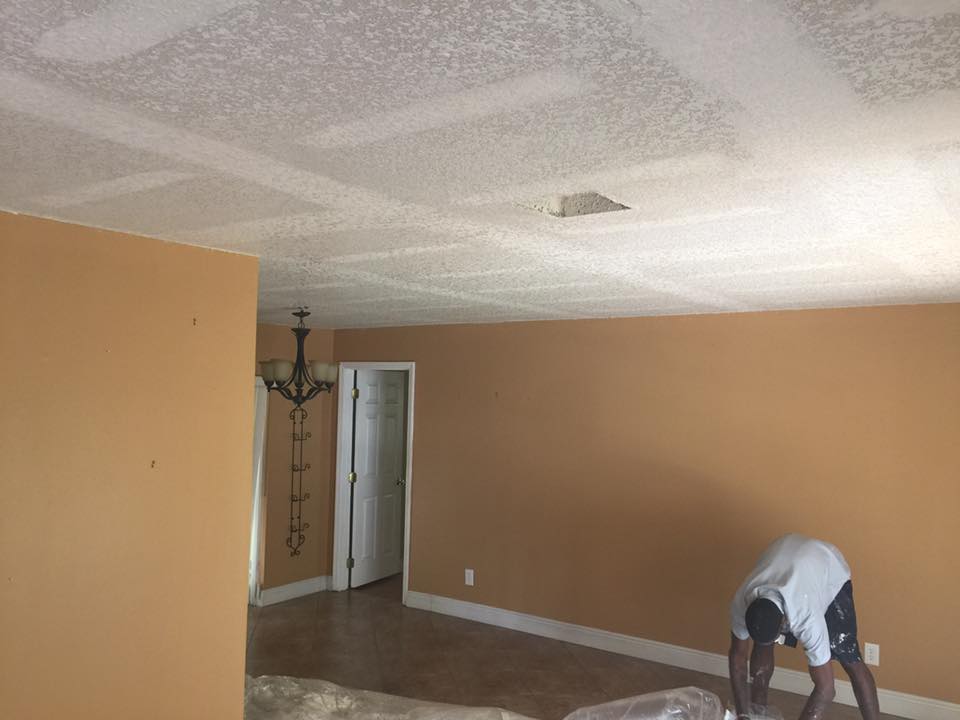
To kick off the knockdown texture process, the room must be cleared of all furniture and wall and ceiling fixtures. Then, windows, doors, and electrical outlets must be covered well to avoid damaging them. This would also save up time for the clean up of the mess afterwards. Next, the walls and ceilings are prepped. Cracks, holes, gauges, and other damages should be repaired to make the surfaces blemish-free. After that, the equipment to be used for the application is prepared. Then, the compound or mud is prepped and made sure to be of proper consistency. To test the consistency, the compound is applied to a small area first.
To start the job itself, the applicator is positioned 15 to 18 inches away from the wall. And from a corner of the wall or ceiling, the compound is applied evenly and consistently upside. Afterward, the splatters are left to settle for at least 15 to 30 minutes. Only when the compound loses its glossy appearance is it safe to start the knockdown process. Depending on the type of knockdown texture, some people choose to alternate between application and knocking down. In the knockdown process, even strokes, light pressure, and gentleness is needed to get the desired effect and not disturb the compound. The last step is to only wait for it to dry. For a more polished look, some people may sand the finished texture very very gently just to further even out the surface and get rid of small tool marks. Then primer and paint may be applied.
At Blue Sky Popcorn Removal Florida, we understand the homeowner’s needs and ensure clean, quick, efficient, and outstanding results. So, get in touch today and fill the information below to get a free estimate of your knockdown texture updo to remodel your home to your tastes.
 We can do this for you. Click here to get started.
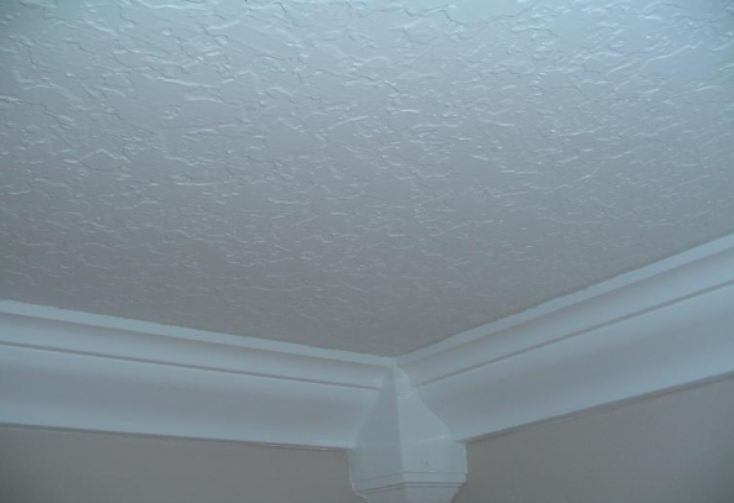
Knockdown texture will never go out of style. It’s the only way for a fast, affordable, consistent and soft ceiling. We can do this for you. See our example of a knockdown texture here.
Or, if you prefer a smooth ceiling. It’s relaxing just to look at. Unfortunately this is not a hidden treasure just sitting underneath your popcorn. Converting a popcorn ceiling to a quality smooth result takes time and skill. Expensive! However you will not have buyers remorse. They come out this good every time. We can do this for you.

Recent Comments