

Homeowners with ceilings that have a popcorn texture usually opt to have the texture removed. Some reasons why this is also includes the popcorn ceiling being too old-fashioned, the difficulty and cost of painting the sharp peaks and valleys that also soak up a lot of paint like a sponge, the ceiling catching and trapping dust, how hard it is to clean, and how the texture makes a living space look much smaller than it is. In addition, the texture used in popcorn ceilings contains asbestos that is deemed harmful to people’s health. So, once the decision to take these down has been made, it is helpful to understand the popcorn ceiling removal process. This way you will know what to anticipate, what to avoid, and what you need to get the job done properly.
The Popcorn Ceiling Removal Process
Before proceeding with the process, be that the tools and materials you need are within reach. These include scrapers, a garden sprayer, plastic sheeting, spackle or drywall compound, painters tape, a ladder or step stool, sandpaper, and contractor bags. Once you have all these, you can start the removal process.
The first thing is to test for lead paint and asbestos. If you test for asbestos, you can purchase a home-based asbestos testing kit. This kit allows you to scrape off a small section of the texture product and mail to a lab that runs tests on it. This takes about two weeks. Another way to test asbestos is to hire a pro. Just be sure that they have the necessary accreditations. On the other hand, testing for lead paint can also be done with a lead paint testing kit. You can use these home-based kits easily and get results within minutes.

Second, you need to cover your floor and walls because removing popcorn ceiling creates so much waste. This waste can sometimes be wet and goopy so it is a good idea to clear out the space of any type of furniture. Attach plastic painter’s film to the walls by running masking tape along its edges. Cover the flooring with thick plastic sheeting. You might also want to wear the right protective gear like work gloves and a dust mask.
Third, start spraying the ceiling with some warm water from a pump. Spray a test area first and let it sit. If you notice that your ceiling only has textured product and no paint, you will notice that it absorbs the water quickly, which means you can start scraping in about 15 minutes. If, for example, the texture is coated with some paint, then it takes longer to absorb so you will need to do multiple soakings. Experts add some liquid fabric softener to the water to soften the material faster.

Fourth, scrape off the texture using a wide scraper. Push into the softened texture until you feel the blade touch the plaster or drywall. Once that is done, tilt the scraper to a low angle and then push your scraper forward. The texture should look like cottage cheese and should easily fall off. If you have a hard time scraping, it means that the texture is too dry. Go back to spraying water on it again.
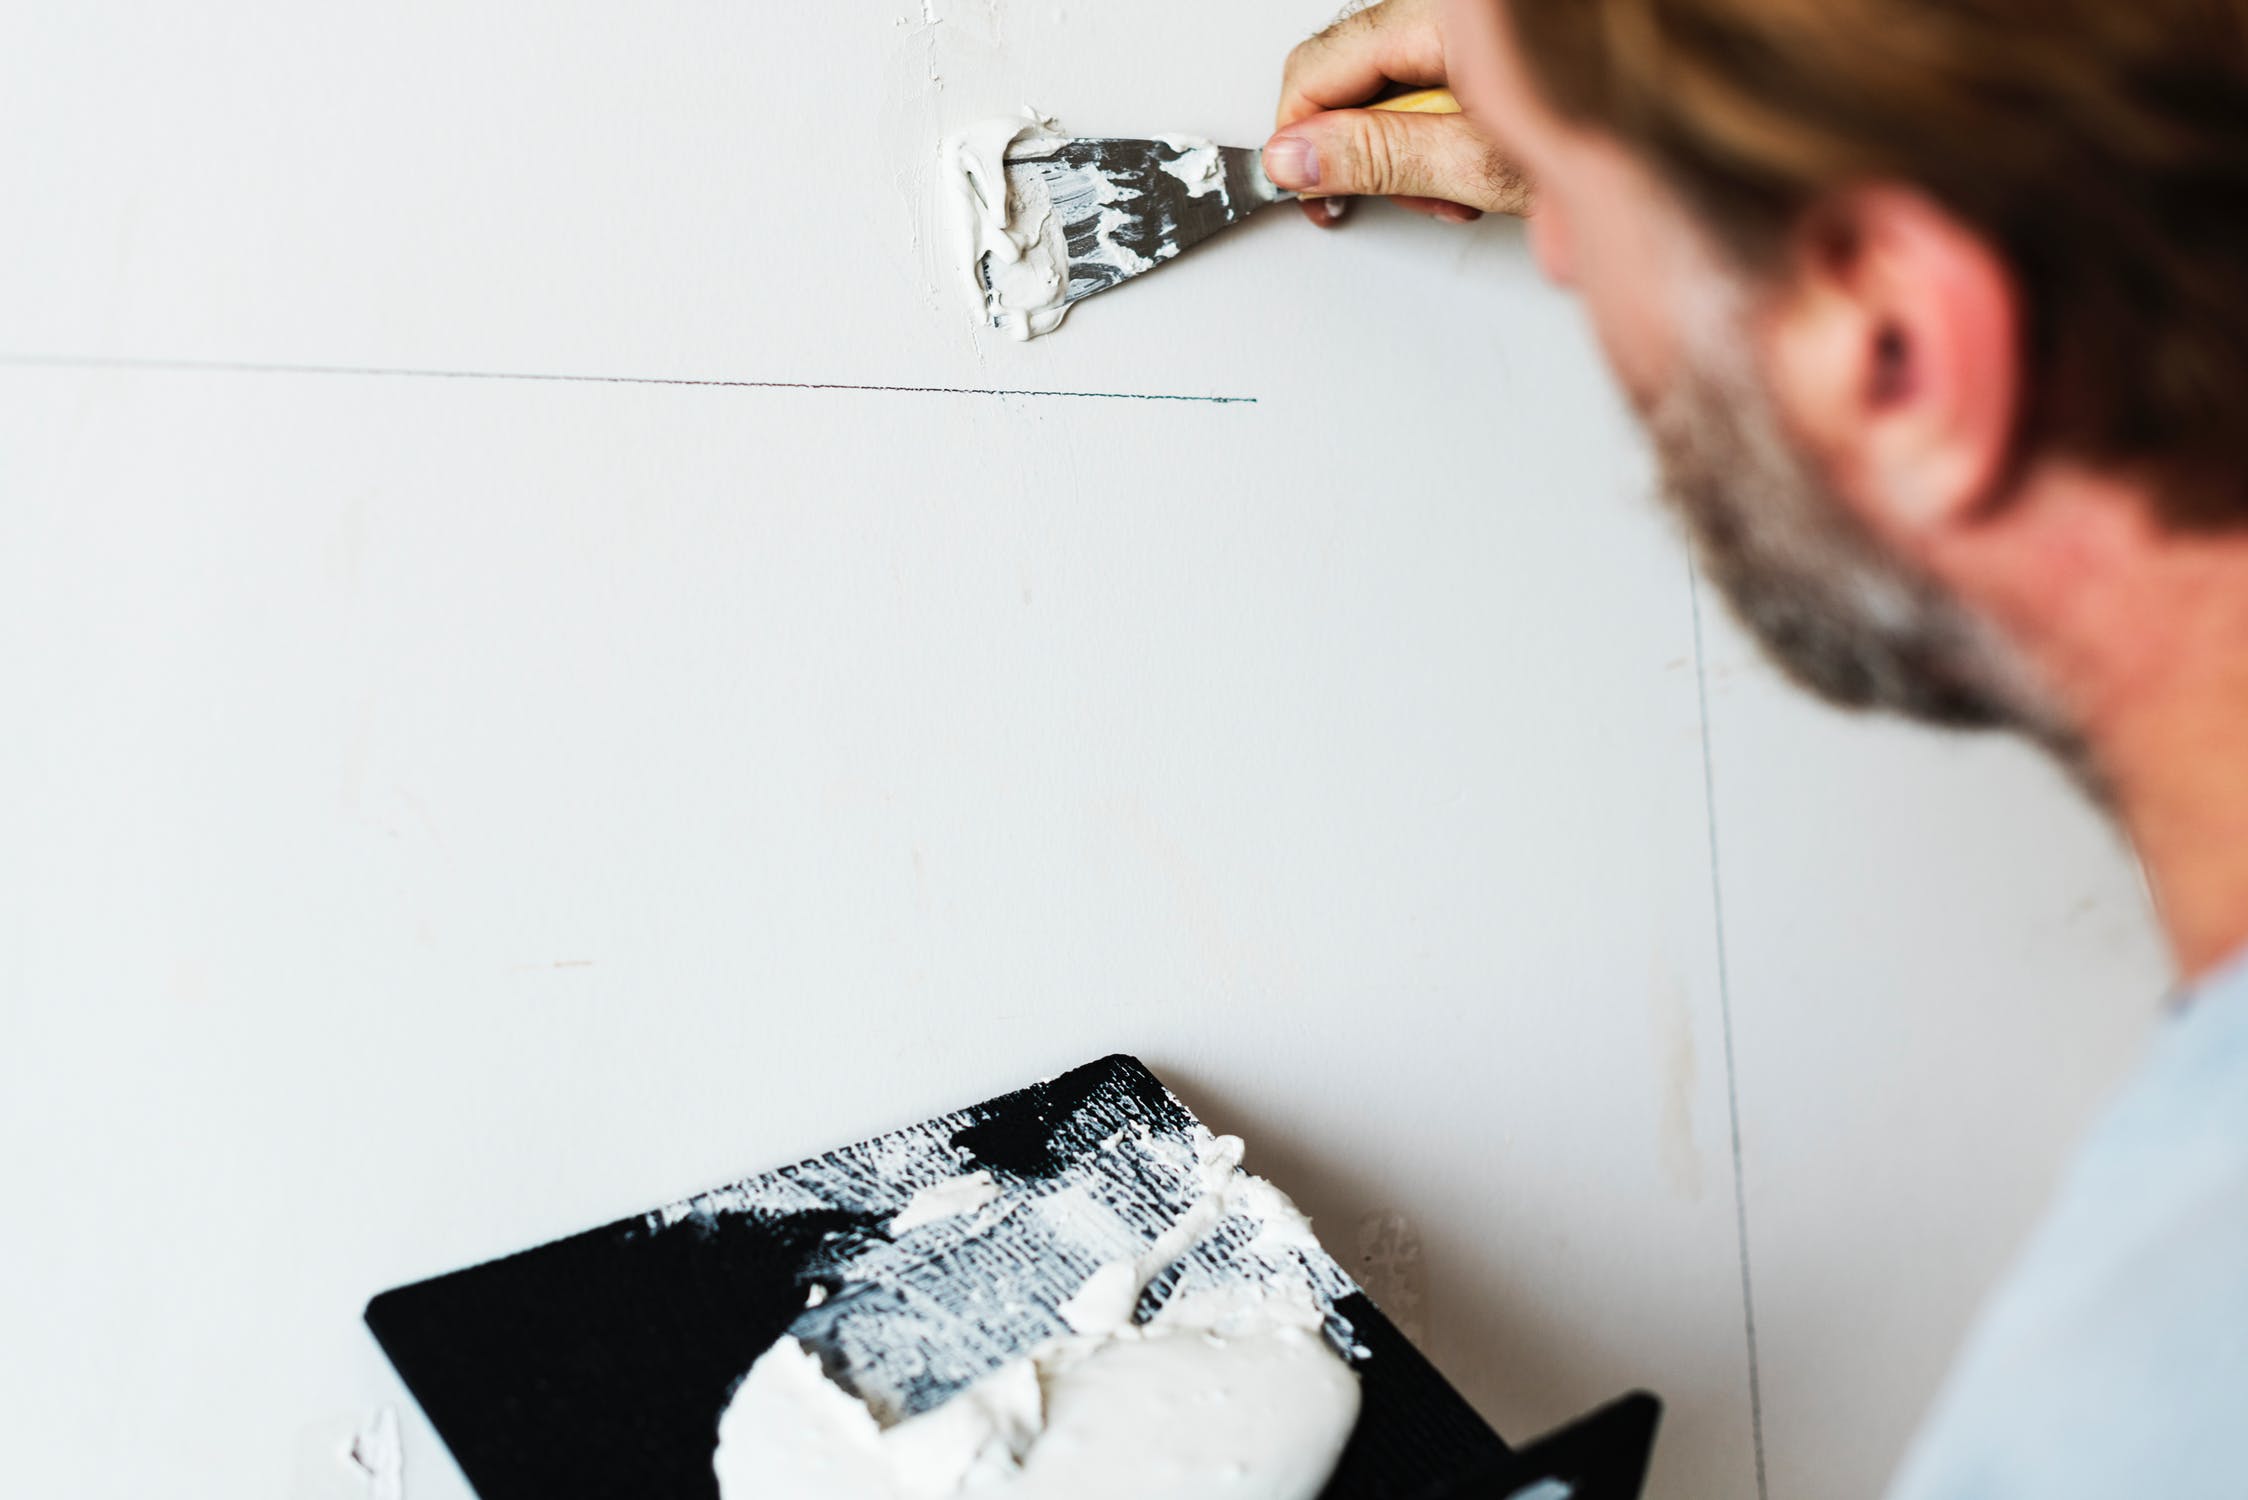
Fifth, let the ceiling dry and finally, fix any ceiling damage. Anticipate gouges, scratches, and holes after scraping off the texture of popcorn ceiling. You can apply spackle to these areas and sand-smooth the area with sandpaper. After that, wipe the area clean and get ready for priming and painting. The last thing you need to do is dispose of the waste. Since the byproduct is hazardous, be sure to dispose of it in contractor bags and have it picked up at once.

Other Things to Consider in Popcorn Removal
In addition to the process, remember to remove ceiling fans and fixtures. This includes lights and other electrical fixtures. You may also want to stuff newspaper inside areas where light bulbs are installed to keep them dry during the process. Make sure that the circuit breaker and fuse box is turned off for those fixtures. If there are junction boxes on the ceilings, cover these with tape, too, so you don’t nick the wires.
To do things more systematically, work in small sections and tame the mess by using a mud pan to catch the wet popcorn before they fall on the floor. This way, you minimize your efforts in cleaning up. Prevent gouging by rounding off the corners of your scraper. This lessens ceiling wounds.